home coolshots info articles feedback
coolthaihouse.com -> coolshots -> shot of the week

September 2004 - editor.  The cool thai house project of building a house in Pattaya, Thailand 'Shot of the Week'.  This section shows a picture a week of the building process, which went on for about 26 weeks. 

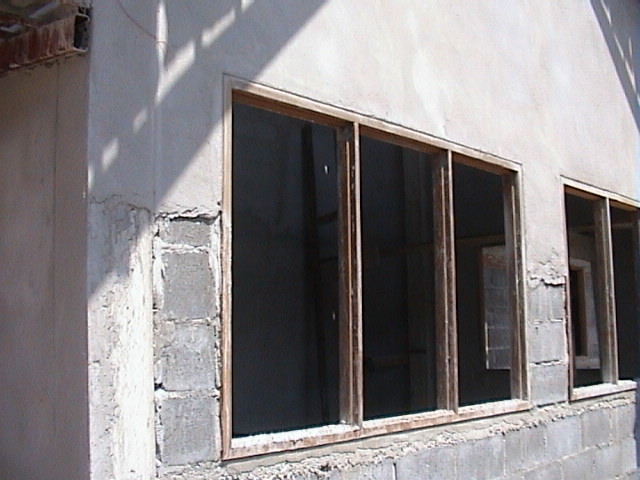
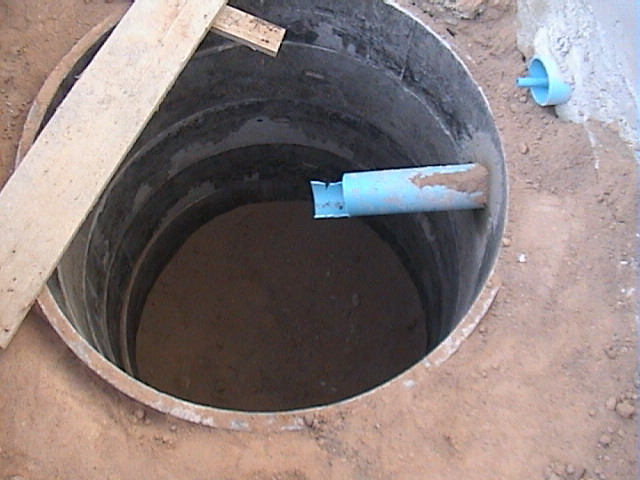
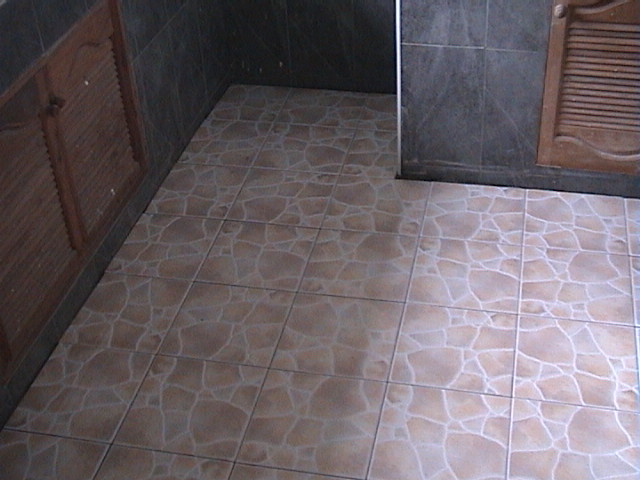
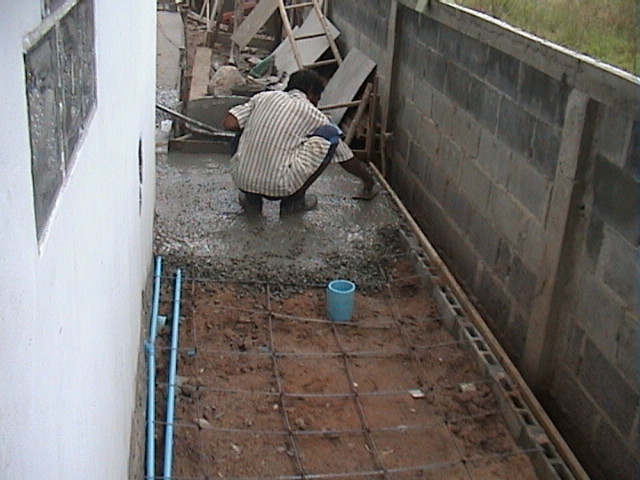
On this proto-type 'cool thai house' project I really made an effort to record the full and accurate history of the building of the house.  I've come to the conclusion that recording a full history isn't really possible.  There is so much detail that goes into it that the number of pictures is at times overwhelming.  So for those of you who want the brief tour:  this section displays highlights of the building with a shot of the week, giving a summary view of the project.  Since I figure the entire project has a life span of about 26 weeks, I am aiming to display about that many pictures here -- give or take.

This is the starting shot, showing the plot leveled.  The plot starts before the truck on the left and goes to the corner tree line. By this point the plot has already been leveled with fill dirt.  (01-Jan-04)


The perimeter wall is mostly completed.  Still needs to be stuccoed.  (27-Jan-04)
The footing of a foundation column.  (29-Feb-04)
The house footing being formed.  The footing of this house is about 20 inches tall.  Inside the footing there is a metal substructure for strength.  Off to the left of this footing you can see the hand tied metal substructure in preparation to pour another footing.  To the right you see the form wood which is used to form the concrete pour.  (05-Mar-04)
The roof structure is built using heavy guage steel.  The bigger pieces are 4 *2 inches and 1.6 mm thick.  The smaller pieces are 1 by 1 inch and 1.6 mm thick.  The roof tile will lie on the 1 by 1's, so they must be placed at the proper interval.  Notice the cross beam supports which sit on top of the foundation posts.  (13-Mar-04) This shows the rear door being framed.  This is a repair job, since on the first attempt anchor nails were not used.  This time nails will be placed at 4" intervals to anchor the door in place. (02-Apr-04)
Here the roof is partially tiled.  The left shot shows the parking lot and patio.  The right shot shows the main roof sections. Notice the aluminum drainage sheeting shown in the valley of the right hand picture: it is not really sufficient and will need to be supplemented later. (22-Mar-04)
Stucco is what gives strength to the wall. Notice the thickness of the stucco shown here. This is the front exterior wall. (17-Apr-04)
For each bathroom there are 2 septic tanks, dirty water and solid waste.  Standard depth is 4 cement drainage rings, we use 5 which is better.  This shot shows the solid waste septic on the left (servicing the small bathroom).  The PVC which runs from the toilet is 4" in diameter. (22-Apr-04)
This shot shows the front facia board which can be made of either wood or synthetic.  We are using synthetic version which is formed from cement.  Also note the wood framing is being put in place to attach the outdoor roofing material (grc sheeting).  (25-Apr-04)
The repaired roof valley.  This was kind of a struggle due to inadequate valley aluminum which was then compensated for by using two pieces which are welded together.  In any event the valley now looks good and there is no problem with water leakage.  (02-May-04)
This shows the sheetrock roof in the main house area with prep holes for the down lights. (12-May-04)
This shot shows how the kitchen cabinets were formed.  First off the counter is poured cement with a wire mesh cross support.  This cross support is anchored in the wall.  Then bricks are laid and finally the doors are placed.  The doors are anchored into place with nails affixed to the side of the frame. (14-May-04)
This shot shows a piece of tile being laid in.  A straight line is used as a guide.  Also the line is used to evaluate the level of the tile (so that any unevenness in the floor is taken care of).  (14-May-04)
Kitchen wall tile.  Notice also the cabinet tile.  (25-May-04)
The house as it looks today.  (19-May-04)
Kitchen floor tile. (26-May-04) The floor tiling is complete.  Now the only thing left to do is do a 10 centimeter tile border around the entire floor.  (30-May-04)
This is a heavy duty (and also just plain heavy!) 75 liter wall mount hot water heater.  There are metal brackets on the other side of the wall to add holding support.  (04-Jun-04) 
On the left you can see the hot and cold water PVC pipes running the length of the back wall.  The copper hot water pipe is housed in PVC for durability.  The pipes will run under the back walkway, which is being poured in this picture.  The back walkway is more than 1 meter wide, and will slant off to the right into a drainage canal to aid in water runoff.  (07-Jun-04)
This is the poured base for the small bathroom shower enclosure.  Unfortunately it isn't supposed to be 'raised' like this so this was later leveled and done a second time.  (15-Jun-04)
The house has 5 variable mounted roof fans and 35 down lights.  In this room the down lights are on dimmer switches.  All of the down lights as well as all of the electric is 'grounded'.  (18-Jun-04)
The bathtub being framed in the large bathroom. It will be supported by 4 columns of red bricks and will be enclosed in tile. There are still two more columns of bricks to be added.  (25-Jun-04)
The 1600 liter water tank.  This tank has an electronic valve which allows the tank to drop to 1/2 full (or are you thinking 'half empty'?) before turning the pump on to refill it.  There are two pumps used, one pumps from the tank to the house and one pumps from the well to the tank.  (02-Jul-04)
The finished large bathroom attached to the master bedroom.  (06-Jul-04)
Decorative work on the entryway.  Decorative bricks were placed around the entry posts and cement is used as a border material.  (10-Jul-04)
After many problems with dirty well water the problem was finally resolved.  There is a large break in the bottom of the well (lower left side), which is seen once all the water is pumped out.  The hole needs to be patched so water cannot 'pour' in like this.  (12-Jul-04)
The surrounding metal has been placed on the perimeter wall and the arrows and leaves are in the process of being painted.  The paint used for the decorative elements of the metal are a special yellow primer and gold paint.  (31-Jul-04)
A shot of the finished house.  (13-Aug-04)
 
Feedback plea This site is free, but needs your comments and corrections to make it a valuable resource. If you've got comments, corrections or other information please leave feedback here.

home | coolshots 
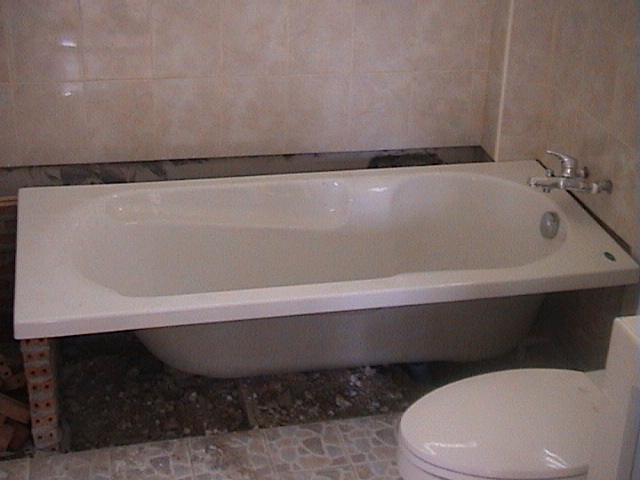
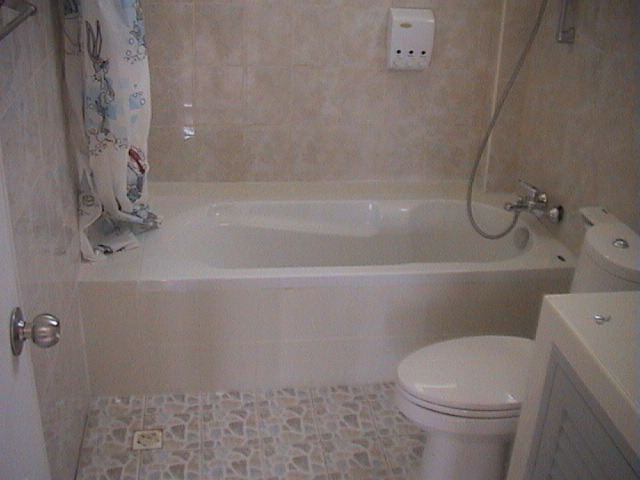
home | bathrooms | ceiling | concretepour | electrical | eves | finishedhouse | foundationcolumn | gate | 
gutter
 | hindsight | kitchen | perimeterwall | planterbox | readme | road | roof | shotoftheweek | tile | views | wall | water | windowdoor

This page was last updated October 2nd, 2009