home coolshots info articles feedback
coolthaihouse.com -> coolshots -> tile

September, 2004 - editor.  Cool thai house sample construction project in Pattaya, Thailand.  Tiling the house and patio.  Various tiles used throughout. 

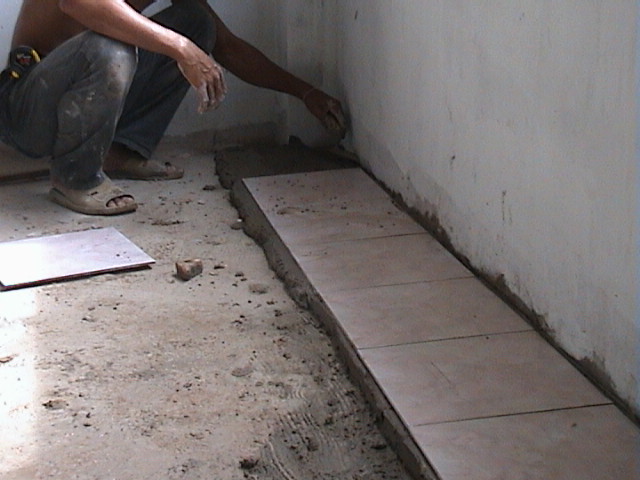
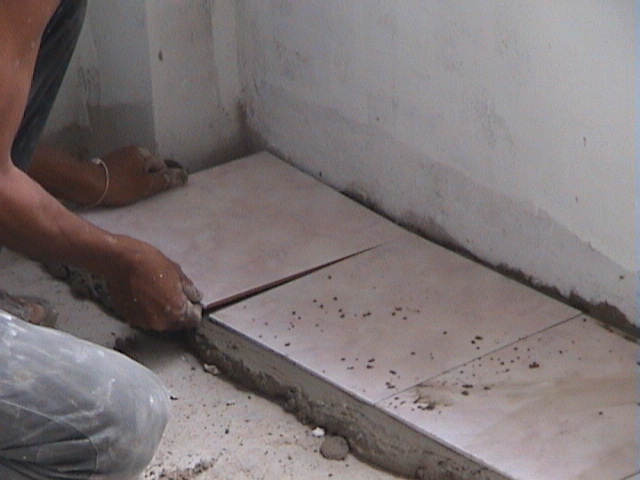
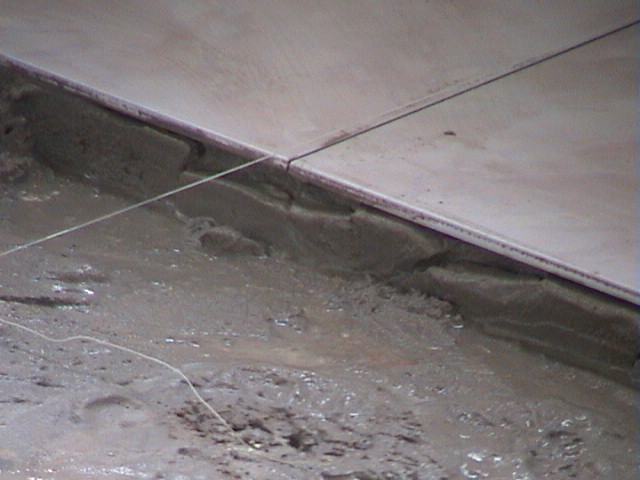
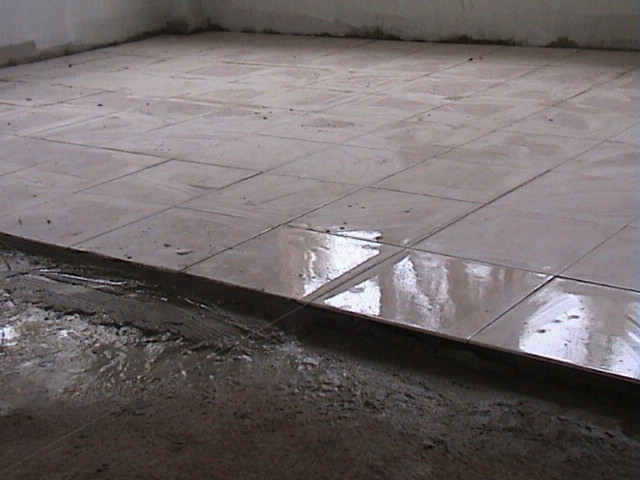
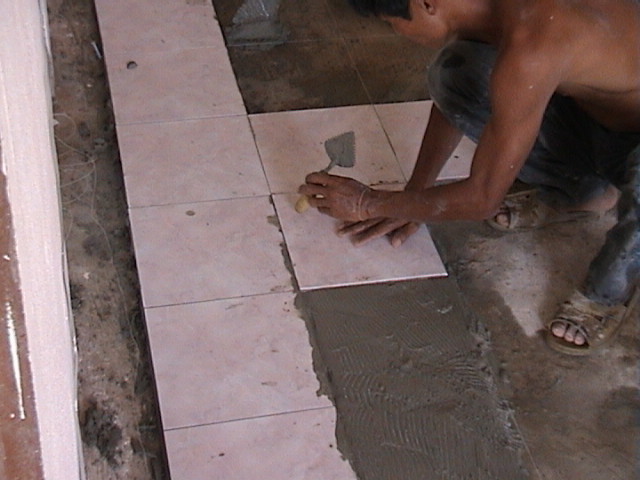
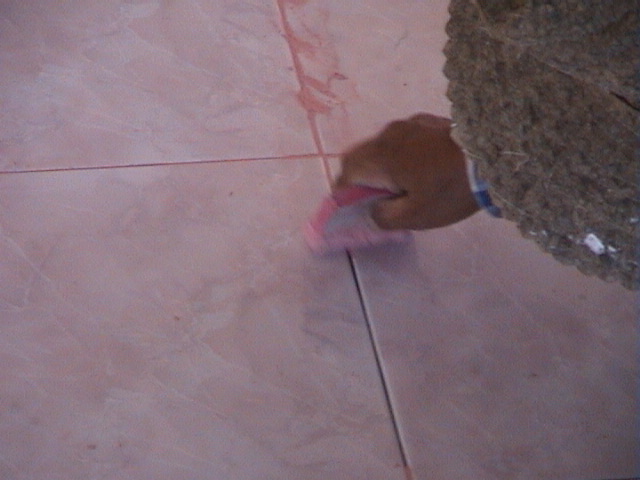
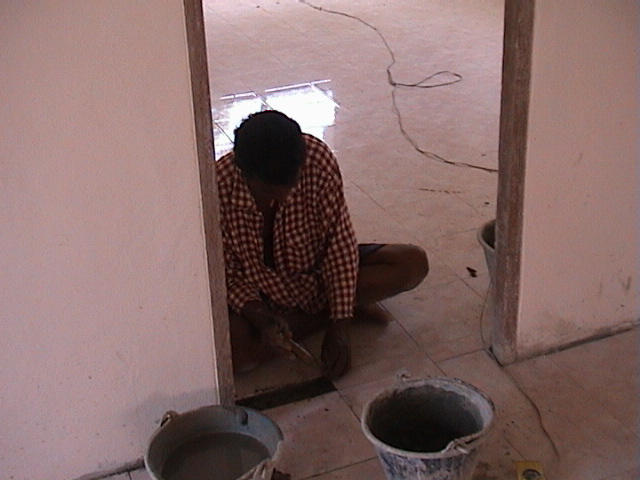
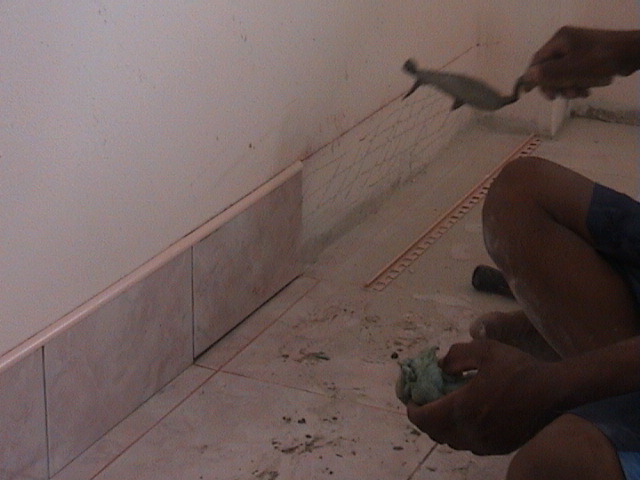
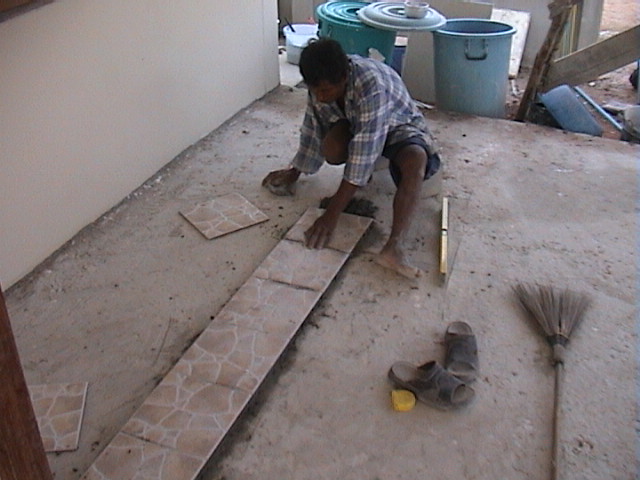
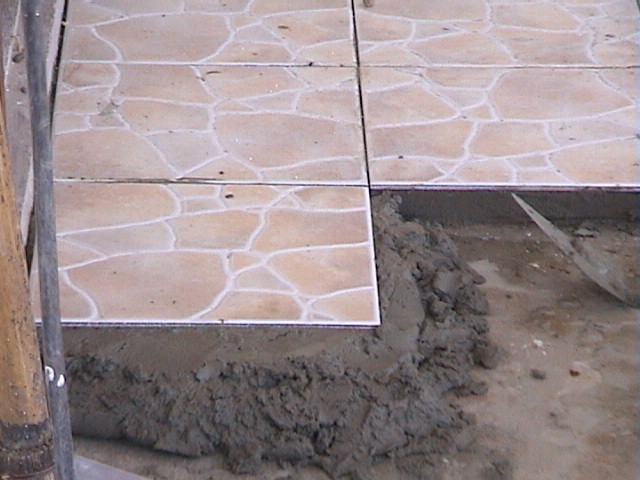
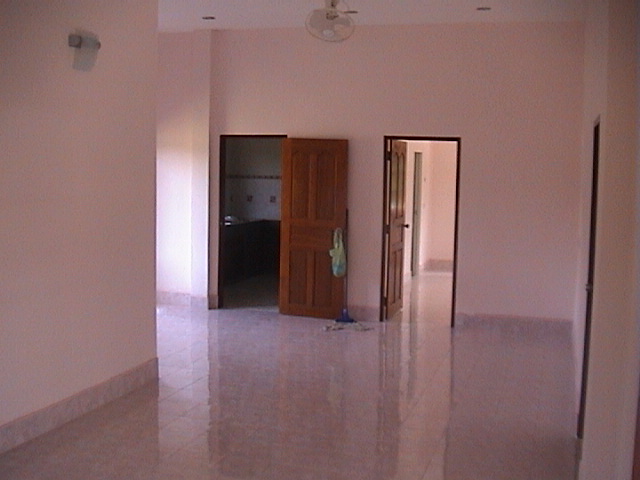
The tiling done on this job turned out especially nice.  All tiles used on this project are grade A (tiles come in grade A, B and C).  The main floor area has a tile with a pink hue and natural pattern (each tile has the identical pattern).  Because the pattern is so hard to see, several tiles were inadvertently laid in the wrong way and needed to be chipped out and reset.  All areas that needed to be sloped were correctly sloped during the laying of the tiles.  This is especially important in the bathrooms, where the level of the floor must slope correctly to allow the water to exit via the floor drain.  Also, in the patio this is important so that if water comes in contact with the floor it will flow away from the entry door. 

There are many different patterns of tiles used as indicated below.

kitchen:  natural stone design 30 centimeter square size for the floor, natural dark green granite 40 * 25 centimeter for the outside of the kitchen cabinets, 20 * 20 brownish hue for the kitchen walls and an eye level row of decorative small design tiles.

patio: natural stone design 30 centimeter square tiles (same as the kitchen floor).

bathrooms: natural stone design 20 centimeter square size for the floors, natural stone tan 20 * 25 centimeters for the bathroom walls, white 20 * 25 pattern for the sink cabinet, and an eye level row of decorative small design tiles.

After the floor is poured a layer of cement is leveled in a row and tiles are placed on top of it and tapped into place.  (13-May-04)
Here a tile is being set in place.
This shows a 'straight line' of clear nylon line which is used to make sure the rows are laid straight and also to make sure the tops of the tile are flat and at the proper level. 
Here is the front bedroom partially tiled. 
Each tile is carefully tapped into place.  (14-May-04)
Here the next tile is set in place. 
After the cement is dry, tile grout is applied.  The grouts come in various colors to match the shade of the tile.  (24-May-04)
Some places require small tile fragments to be laid to complete the area.
Wall tile is laid much the same way.  This example shows bathroom wall tile being set in place.  The wall is scored and pure cement is for maximum adhesion.  (03-Jun-04)
Here a border or 'skirt' is being laid out.  The wall is scored to allow for maximum adhesion.  The skirt should ideally be done before the wall has been painted.  (14-Jun-04)
Finishing off a detail section is a doorway.
Applying tiles to an outdoor patio.  (21-Jun-04)
The cement under the tile is used to bring the patio flooring to the desired level.  (22-Jun-04)
The finished indoor tile floor.  (06-Jul-04)
The finished patio tile floor.  (30-Aug-04).
 
Feedback plea This site is free, but needs your comments and corrections to make it a valuable resource. If you've got comments, corrections or other information please leave feedback here.

home | coolshots home | bathrooms | ceiling | concretepour | electrical | eves | finishedhouse | foundationcolumn | gate | 
gutter
 | hindsight | kitchen | perimeterwall | planterbox | readme | road | roof | shotoftheweek | tile | views | wall | water | windowdoor

This page was last updated October 2nd, 2009