home coolshots info articles feedback
coolthaihouse.com -> coolshots -> kitchen

August, 2004 - editor.  Construction of the kitchen of the cool thai house, in Pattaya, Thailand.  Example of constructing kitchen cabinet and sink enclosure from cement and red brick. 

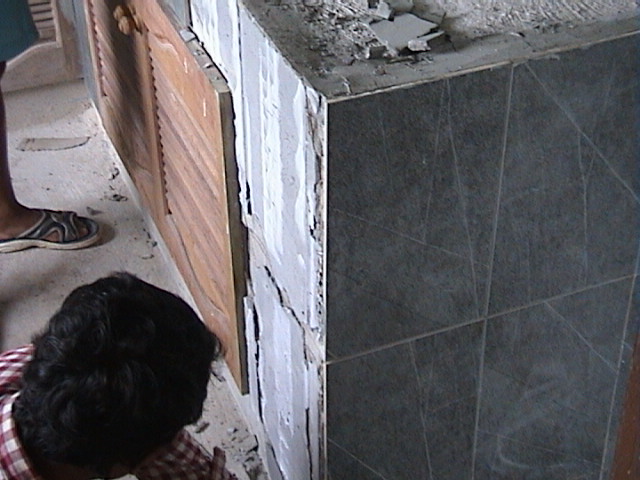
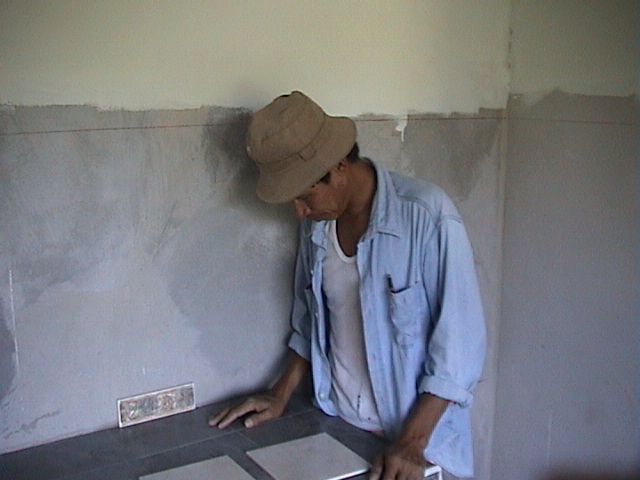
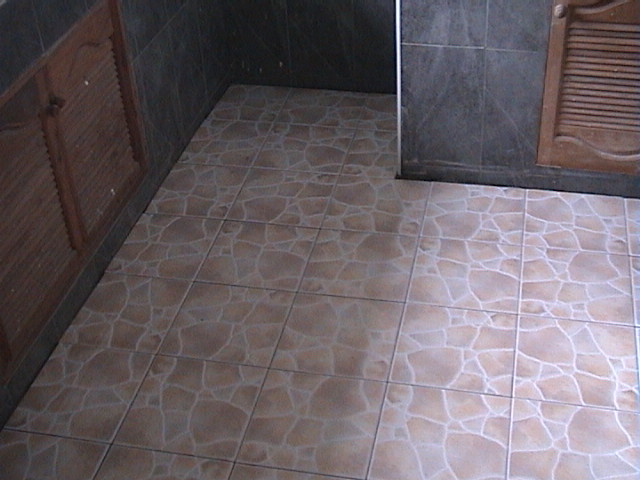
The approach for the kitchen was to build a nice comfortable kitchen inexpensively.  This kitchen measures 3 meters square.  Upon entry to the left is an open area in which the wall mount water heater is installed.  Then there is the sink area.  In the middle portion there is an open area in the counter to allow a stove to be inserted.  The counter goes all the way around to the right and on the right hand wall facing the sink the counter ends prior to the wall to allow a space for a refrigerator.  There is an exhaust fan and ceiling fan.

Aside from a few minor glitches the kitchen construction progressed smoothly.  Towards the end of the project a specialist tiler was hired who did the tiling and plumbing in the kitchen.  The materials cost for the kitchen, not including the hot water heater, would be around 17,000 Baht as follows, ceiling fan = 1,000, exhaust fan = 1,000, tile = 4,000, sink = 3,000, cement = 1,000, hot/cold faucet = 2,000, plumbing = 1,000, cabinet doors = 4,000. 

The metal for the kitchen counter is secured on top of some grc sheeting material and drilled into the wall prior to pouring cement.  (26-Apr-04)

The red bricks designate where the sink will go.
Pouring cement to form the counter.
The counter after the cement pour.  (27-Apr-04)
The counter will be supported by red brick columns.  (13-May-04)
Partially finished counter with supporting brick columns.
Metal rebar (2 hun) is used in forming the brick column supports to add strength.  A hole is drilled in the wall and the metal inserted.
Nails are used on the outside of the cabinet to anchor to the surrounding wall.
A counter section after the red brick enclosure is complete.  (14-May-04)
Each cabinet section has a wood door.
Here stucco has been affixed.
This shows a relatively think layer of stucco is applied.
This shows the rough finish on the stucco and the tiles being applied.  Cement unmixed with sand is used as the affixing agent.  (15-May-04)
This shows the opening formed for the exhaust fan.  The opening is framed made from a wood frame cemented in place in the wall.  The fan fits in place and can be slid out for cleaning.  (18-May-04)
The cement surface of the cabinets is rough finished to allow the tiles to affix easily. 
A bit of repair in process.  The tile on the front of the cabinet was not even with the door, so the tiles are being removed.  More cement will be added to adjust the level.  (21-May-04)
The kitchen tile expert selecting tiles.  (24-May-04)
Partial wall tile completed.
Floor tiles.  (26-May-04)
Affixing grout to the kitchen floor tiles.  (27-May-04)
Affixing grout to the tiles on the inside of the cabinets.  (19-Jun-04)
Finished cabinet section with stainless sink installed.  (06-Jul-04)
Finished cabinet section.  The cabinet doors have been varnished with three coats of good quality wood varnish.
The wall exhaust fan looks like this.  It is wired to a separate switch on the right hand side of the sink.  (24-Aug-04)
Feedback plea This site is free, but needs your comments and corrections to make it a valuable resource. If you've got comments, corrections or other information please leave feedback here.


home | coolshots home | bathrooms | ceiling | concretepour | electrical | eves | finishedhouse | foundationcolumn | gate | 
gutter
 | hindsight | kitchen | perimeterwall | planterbox | readme | road | roof | shotoftheweek | tile | views | wall | water | windowdoor

This page was last updated October 2nd, 2009