home coolshots info articles feedback
coolthaihouse.com -> info -> tile

August 2004 - editor.  Information on tiles and tiling a house in Pattaya, Thailand.  The use of tiles in new house construction.  An example of tiling a floor along with general tile information.  The various grades of tiles and the difference.  How a floor is prepared to lay tile.  The use of a straight line in laying tile.

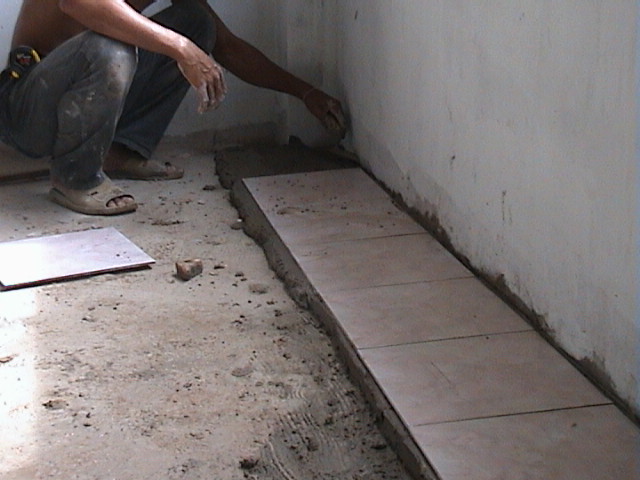
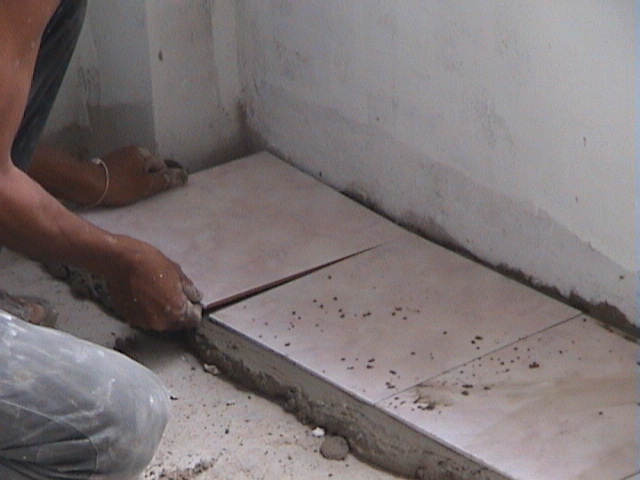
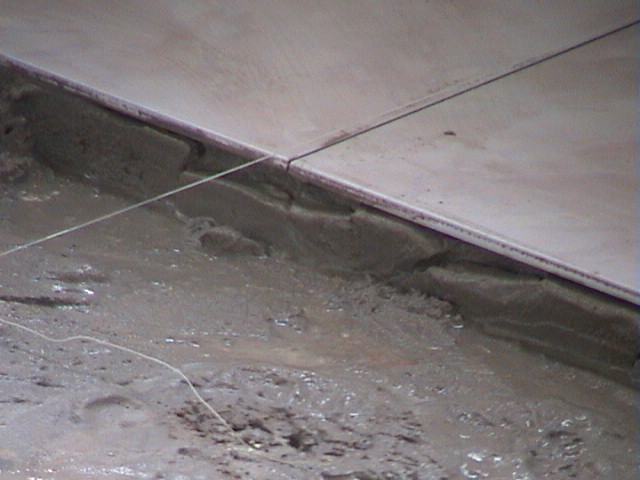
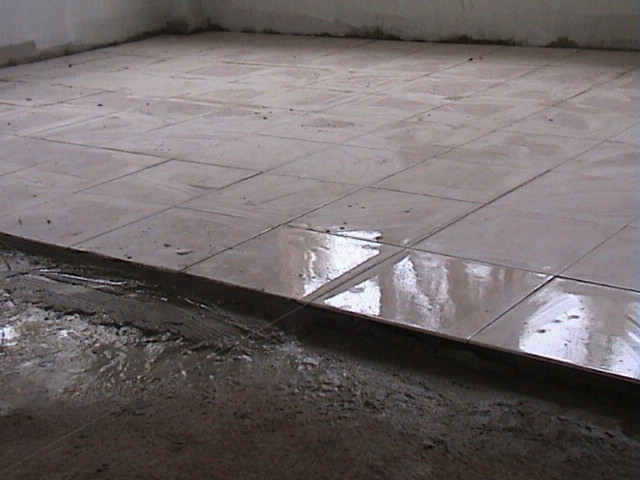
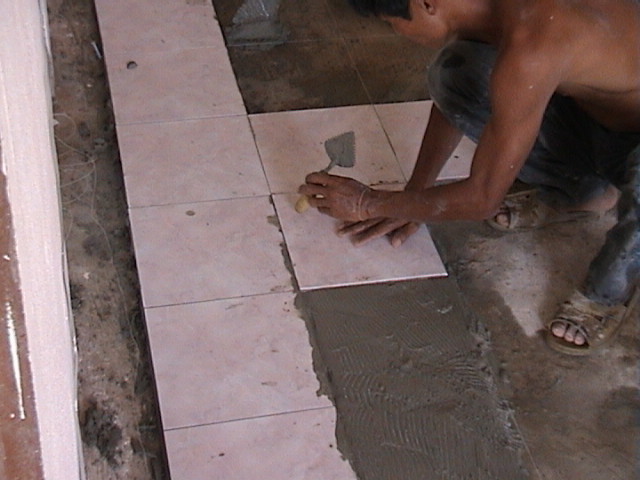
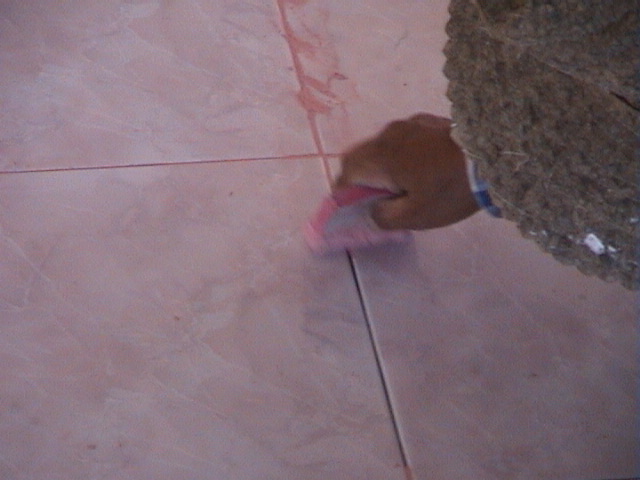
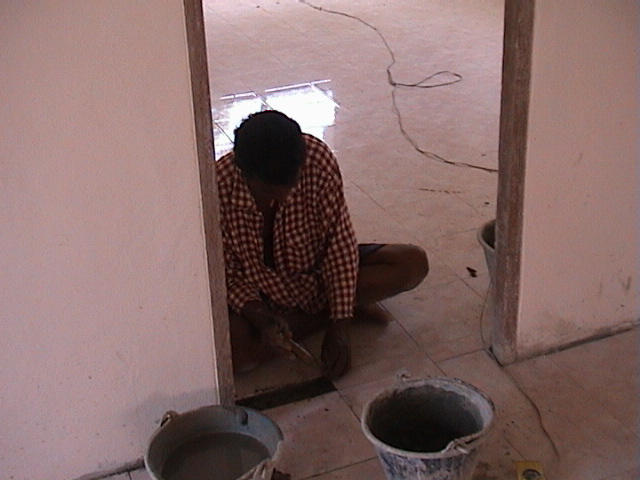
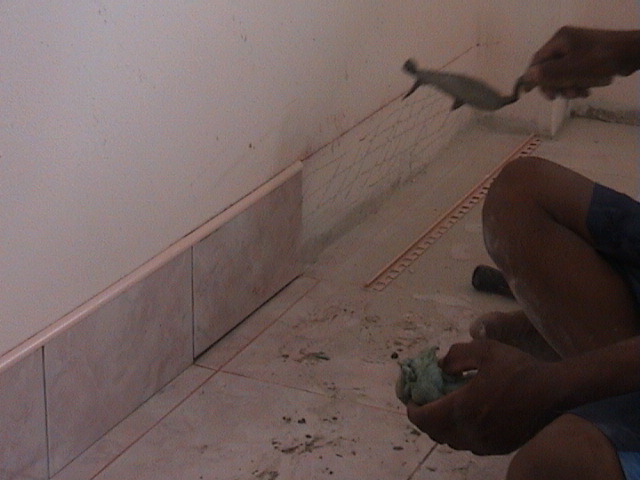
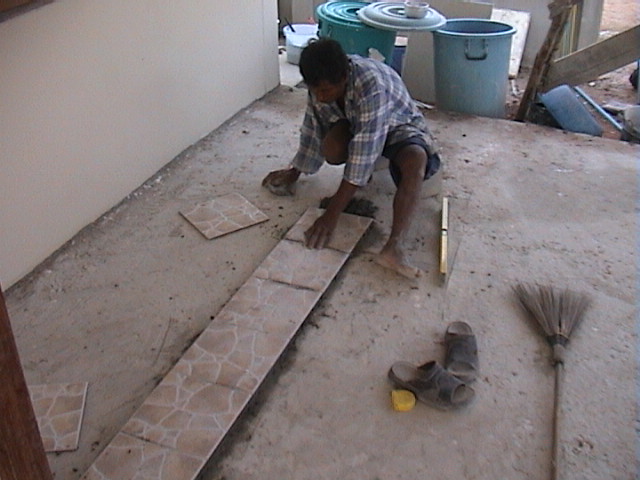
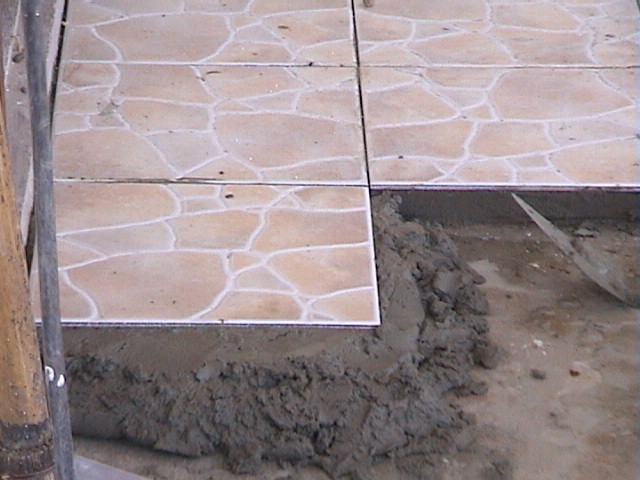
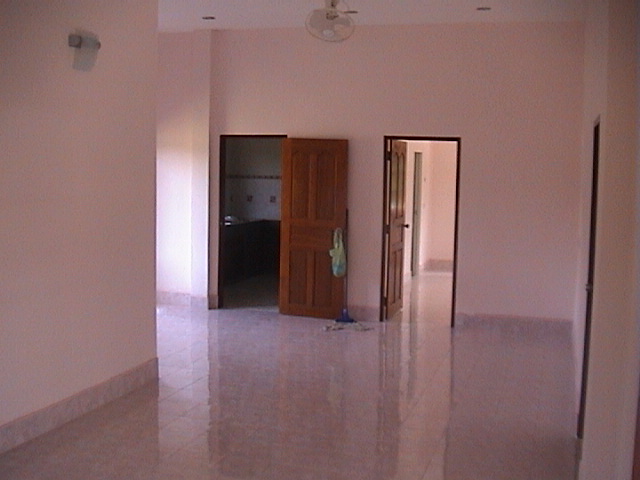
Tiles here come in three grades, A, B and C.  Although it is hard to tell the difference and it may be tempting to go for grade C, the savings is small and it isn't recommended.  The main problem with the grade C tiles is that the size of the tiles are not uniform.  If you compare several tiles you can notice they are of slightly different sizes.  This makes it hard for the tiler to lay them down in straight rows.  I'm also told that the colors in grade B and C may be off (ie different from tile to tile), but I haven't noticed this on jobs I've seen using the lower grade tiles.

After the floor is poured and dried the tiles are ready to be laid.  The tiler will ascertain the desired level of the floor (after the tile is laid down) and mark it with a 'straight line', which is normally clear nylon fishing line.  The straight line is used to designate the desired level of the floor and is also used as a guide to lay the rows down straight.  Each individual tile is tapped into place until it is just right.

Sometimes after the tile area in the main part of the house is laid, a skirt is added.  This is 10 to 15 centimeter row of tiles that goes along the bottom of the wall and connects with the floor tile.  This is attractive and protects the lower portion of the wall.  The wall is scored prior to applying cement to allow for maximum adhesion.  Plastic strips which come in various colors are often used to add a protective border along the edge of the tiled area. 

Wall tile is commonly used in kitchens and bathrooms.  The tile goes up to the desired level, normally about 2 meters from the floor.

After the floor is poured a level layer of cement is leveled in a row and tiles are placed on top of it and tapped into place.  (13-May-04)
Here a tile is being set in place.
This shows a 'straight line' of clear nylon line which is used to make sure the rows are laid straight and also to make sure the tops of the tile are flat and at the proper level. 
Here is the front bedroom partially tiled. 
Each tile is carefully tapped into place.  (14-May-04)
Here the next tile is set in place. 
After the cement is dry, tile grout is applied.  The grouts come in various colors to match the shade of the tile.  (24-May-04)
Some places require small tile fragments to be laid to complete the area.
Wall tile is laid much the same way.  This example shows bathroom wall tile being set in place.  The wall is scored and pure cement is for maximum adhesion.  (03-Jun-04)
Here a border or 'skirt' is being laid out.  The wall is scored to all for maximum adhesion.  The skirt should ideally be done before the wall has been painted.  (14-Jun-04)
Finishing off a detail section is a doorway.
Applying tiles to an outdoor patio.  (21-Jun-04)
The cement under the tile is used to bring the patio flooring to the desired level.  (22-Jun-04)
The finished indoor tile floor.  (06-Jul-04)
The finished patio tile floor.  (30-Aug-04).
 
Feedback plea This site is free, but needs your comments and corrections to make it a valuable resource. If you've got comments, corrections or other information please leave feedback here.

home |  info home |  architecture |  basicmaterials |  bathroom |  ceiling |  concretepour |  electric |  eves |  foundationcolumn | 
gate |  generalinfo |  goodideas |  gutter |  kitchen |  perimeterwall |  planterbox |  roof |  tile |  wall |  water |  windowdoor

This page was last updated October 2nd, 2009